







































AASAAN FIELD GUIDE · RESIDENTIAL CONSTRUCTION IN INDIA
From the first site decision to the final handover
To build a construction project, define the scope, check site feasibility, coordinate design and approvals, set the budget and schedule, and appoint the right contractors. During execution, track progress, cost, quality and changes. Before handover, test building services, close defects, organise project records and confirm who owns the remaining obligations.
On a residential site, an unanswered question can cost more than a slow crew. If the plumbing sleeves aren’t coordinated before a slab pour, the structural team may be ready while the workfront is still on hold. The same pattern repeats at procurement, inspection and handover. Someone needs to know which decision is missing, who owns it and when the next trade needs it.
This guide follows an illustrative mid-rise residential block in India. It’s written for the owner, contractor or project manager coordinating the job. Use it to decide what each stage must deliver and what evidence the team should check before work moves on.

The six phases of a building construction project
Use this roadmap to see what each phase produces. The 14 steps below explain how to get there. Project controls start early and continue through execution; the phases can overlap where the required releases are in place.
01 · Define the job
Scope, feasibility and approvals
Evidence: Owner-approved brief, site constraints and approval register
Coordinated drawings, BOQ and schedule
Evidence: Released drawings, approved budget and milestone baseline
03 · Prepare to start
Contracts, purchasing and site mobilisation
Evidence: Signed scopes, procurement dates and site logistics
04 · Build and verify
Structure, building services and finishes
Evidence: Inspection records and area releases
Progress, cost and changes
Evidence: Measured progress and a log of decisions and approved changes
06 · Hand over and close
Tests, defects, records and final accounts
Evidence: Accepted test results, handover file and closeout status

STEP 01 / 14Write a brief the team can actually build from
Start with what the owner intends to receive. For a residential building, that includes the unit mix, parking and common areas, finishes, service requirements and any phasing commitments. Record what the construction team is expected to deliver and what sits in a separate contract. A phrase like “complete electrical work” leaves too much room for disagreement if nobody has said who supplies fixtures, arranges testing or provides the documentation.
In our illustrative example, a developer plans a single mid-rise residential block with parking and shared services. The owner wants a durable finish and a practical maintenance handover. The brief makes the owner’s decisions visible: which finishes are standard, which items need a sample approval and which decisions must be made before procurement. Give the brief a named owner and maintain a decision log as it changes.
Turn the brief into acceptance criteria
Write down what the owner will accept at handover. “Low maintenance” is a preference; “facilities team receives a labelled asset register, warranties and access information” is something the team can verify. Ask the owner to decide which requirements are fixed, which may trade off against cost, and which can wait for a sample. Put a decision deadline against each deferred item.
For the example block, the owner wants common-area flooring that can be replaced without closing the entire lobby. That affects the tile format, the spares order and how the maintenance team receives the finish schedule. Keep the requirement linked to those records. If it stays only in a meeting note, a buyer comparing tile quotes may never see it.
Brief record: requirement · reason · measurable acceptance condition · decision owner · deadline · affected package.
Ready to move on when: Owner signs off the scope, exclusions, assumptions and decision owners.

STEP 02 / 14Check site feasibility before committing to a date
Walk the site with the people who will design and build it. A site can look straightforward on a drawing and still have limited truck access, little room for storage or nearby structures that constrain excavation. Establish the boundary and levels through appropriate surveys, commission site investigations with qualified specialists and record known utility interfaces. Separate verified conditions from assumptions.
For the example block, the approach road leaves little room for delivery vehicles to wait. That affects delivery windows, unloading arrangements and the amount of material that can be safely stored on site. It should also influence tender assumptions. Put each unresolved issue in a risk register with a person responsible for closing it, a decision date and the consequence of discovering it late. Do not let a provisional start date quietly become a commitment.
Separate feasibility from the project’s sales assumptions
Use a short options note before committing to the scheme. Compare the preferred layout with one realistic alternative. Record the effect of each on access, storage, programme, temporary facilities and known consultant inputs. Where the contractor is pricing around an assumption, say who carries the risk if it proves wrong and who must verify it.
Imagine the delivery route is available only at certain hours and the team has assumed a nearby holding area can be used. Treat those as two separate constraints. Confirm the delivery window, verify that the holding area is available and price the fallback. If neither can be confirmed, the project’s material delivery plan is still provisional even when the drawings look complete.
Feasibility output: constraints plan, decision log, unresolved investigations and a priced fallback for the risks most likely to affect mobilisation.
Ready to move on when: The site team can explain access, ground and utility constraints and who will resolve open items.

STEP 03 / 14Map approvals and statutory responsibilities
Ask the architect and relevant advisers to build an approvals register for the actual location, building use and project scope. Record the authority, required submission, accountable person, status, conditions and the work or milestone that depends on it. Keep application acknowledgements separate from approvals received. Record when revised drawings need another submission rather than assuming an earlier approval still covers them.
The Bureau of Indian Standards’ National Building Code overview provides a useful reference for building administration, services and construction management. For developments marketed or sold, review applicable registration and promoter obligations against the Real Estate (Regulation and Development) Act, 2016 and the relevant state authority. Ask your advisers to confirm what applies. Statutory clearance, contract acceptance and physical completion are separate milestones; plan them separately.
Keep separate records for approvals, submissions and site release
Track three statuses: prepared, submitted and cleared for the intended purpose. Record the document reference and scope of each decision. A review meeting should identify what the team can do now and what must wait. Ask your architect or adviser to check how phased releases, conditions or later changes affect that decision.
For the residential block, the contractor asks whether a planned package can start while an approval query is still open. The answer belongs to the accountable project professional or authority. Keep the question and response with the package record so a new supervisor can see what was authorised without relying on a verbal update.
Approval register: authority · submission reference · linked drawing revision · conditions · accountable person · next follow-up · affected milestone.
Ready to move on when: The team knows which approvals release each work stage and which records the handover will need.

STEP 04 / 14Coordinate drawings before releasing work
Bring architectural, structural and mechanical, electrical and plumbing (MEP) drawings together by work area. Ask the team to review interfaces: shafts, sleeves, service routes, access panels and equipment clearances. Record each unresolved clash in a request for information (RFI) log. Assign it to someone who can answer it and set the answer date based on when the affected work must start.
For the residential block, suppose a plumbing sleeve is shown on the services drawing but has not been coordinated with the structure. The site team raises an RFI before the pour and works from the resulting approved instruction. Keep a drawing register with a number, revision, issue date and status. Make current construction drawings easy to identify at the workfront and take superseded copies out of circulation. See Aasaan’s construction document management guide for related practices.
Run one drawing issue all the way to the workfront
An RFI is only useful if the answer changes what the site team sees. A site engineer records the conflicting references and affected location. The coordinator sends the query to the right designer and sets a date before the relevant work release. Once the answer is approved, document control circulates the new issue and the supervisor confirms receipt. Close the RFI once the instruction reaches the affected workfront.
For a sleeve location, attach the marked drawing area and name the exact pour or zone. Avoid asking only “please confirm sleeve.” A good query gives the designer enough information to make a decision and lets the planner identify which activity should remain on hold. If the instruction changes quantities or sequencing, route the impact through the change register too.
RFI record: number · area · current references · question · needed-by date · approved response · distribution confirmation.
Ready to move on when: The supervisor can identify the latest released drawing and any issue that prevents work from proceeding.

STEP 05 / 14Build the estimate, BOQ and control budget
A bill of quantities (BOQ) lists measured work. The estimate puts a forecast cost against the defined scope. The control budget is the approved amount the team uses to track and manage spending. Give each work package a consistent code so that orders, subcontractor measurements and expenses can be compared with its budget. Identify exclusions and allowances, and state who can authorise the use of contingency.
If finishes are still undecided, show the allowance and the selection deadline instead of treating a provisional rate as a final purchase price. During construction, compare the approved budget with committed orders, costs incurred and the expected cost of the remaining work. Spending below budget today is little comfort if a major order is still outstanding. Use the BOQ, estimate and budget guide to define each record, then use the site cost tracking guide to keep them connected.
Worked example: the package that looks under budget
Suppose the floor-finish budget is ₹40 lakh. Costs incurred are ₹24 lakh. The undelivered balance on orders is ₹11 lakh and the work not yet ordered is forecast at ₹8 lakh. The package forecast is ₹43 lakh, or ₹3 lakh above budget. Reporting only incurred costs would suggest ₹16 lakh remains available, even though the expected remaining spend is ₹19 lakh.
Use mutually exclusive buckets. If ₹2 lakh of an open purchase order has already been received and included in incurred costs, subtract it from the outstanding commitment before adding the two figures. Add pending changes as a separate scenario when management needs to understand exposure. Record whether each forecast is on the same tax and scope basis as the budget. The cost forecast calculator reproduces this example.
Decision: check which remaining items drove the increase, assign someone to validate the estimate and agree when the forecast will be reviewed.
Ready to move on when: Every major package has an approved allowance, a scope boundary and an owner for changes.

STEP 06 / 14Build a schedule around decisions and dependencies
Break the job into work packages and give each activity a measurable output. Include drawing releases, procurement lead times, inspections and commissioning in the schedule. Those events can control a finish date as much as the physical work does. Baseline the agreed schedule, then use a rolling two- or three-week lookahead to expose near-term constraints. Give each constraint a name and deadline.
For the residential block, schedule lift selection and the associated drawing inputs early enough for shaft coordination. A useful review question is: “If this approval slips by one week, what can we still do and what stops?” Track the affected dependencies before promising recovery. Use the construction scheduling guide to build the baseline and the planned-versus-actual guide to review it once site work starts.
Translate the baseline into a workfront plan
Keep the approved schedule as the reference for commitments. Then build a near-term plan that the supervisor can use: work area, measurable output, crew, predecessor, drawing reference, materials and inspection. A milestone can remain on the baseline even when the next planned activity is not ready. Show that gap in the lookahead instead of silently moving the baseline.
For the example block, suppose fixtures are due on Thursday and inspection is booked for Monday. If the supplier slips to Friday, ask whether receipt inspection and installation can still be completed before the Monday visit. Check the actual links and available time. A late delivery changes a handover date only if the team cannot absorb the delay or recover the affected sequence.
Lookahead output: next activity · constraint · needed-by date · owner · fallback · effect if missed.
Ready to move on when: The next work packages have drawings, people, materials and inspections lined up against specific dates.

STEP 07 / 14Tender work packages and agree how they’ll be measured
Give bidders the same drawing set, quantities and scope assumptions so comparisons are meaningful. Review mobilisation capacity, supervision, sequencing and exclusions alongside price. Check who supplies materials, temporary works, testing and access equipment. A low quote can become expensive if it leaves out an interface that another contractor has also excluded.
Before awarding a package, agree how completed work will be measured, what evidence supports a running account (RA) bill and how variations are authorised. Document who certifies quantities and how disputed items are handled under the contract. For the example block, clearly assign responsibility for builders’ work openings and making good around service penetrations. That one boundary involves both civil and services teams. See the subcontractor RA billing guide for the payment workflow.
Compare bids on the same scope
Create a comparison sheet with bidder prices, scope differences, exclusions and assumptions. Add the client’s estimated cost for exclusions where it can be reasonably supported. If one offer excludes opening repairs and another includes them, compare on a common basis and record any estimate you added. Review technical suitability and the resources the bidder commits before recommending award.
During the pre-award meeting, run a mock RA bill through the proposed contract process. Ask what quantities would be certified, what backup the contractor would submit and how a disputed item would be carried forward. This short walkthrough often finds scope or measurement disagreements while the contract can still be clarified.
Tender evidence: bid comparison, agreed exclusions, clarification record, payment measurement basis and package interfaces.
Ready to move on when: Each package has a written scope, measurement basis, approval path and clear interface with adjacent trades.

STEP 08 / 14Set up procurement and site logistics before mobilisation
Work backwards from installation dates. A material may need a technical submittal, sample approval, order, delivery slot, receipt check and protected storage before anyone can use it. Give long-lead orders their own register and track approved need dates alongside vendor promises. A purchase order shows what was ordered; it does not tell a supervisor whether the goods arrived and passed inspection.
Start mobilisation with a site logistics plan agreed by the responsible team: delivery access, storage zones, temporary utilities, site facilities and routes for people and vehicles. Record who checks deliveries and how shortages or rejected items are handled. For the example block, sequence deliveries to match the restricted access and storage space. The site procurement guide explains the chain from request and approval through purchase and receipt.
Use a single purchase trail from need to receipt
Start with a site requirement that names the area, quantity and date the material must be ready to use. Confirm available stock and current specifications before buying. After the order is placed, track partial deliveries separately from complete receipts. Inspect materials on arrival where the project requires it and make rejected quantities visible to both site and purchase teams.
For instance, an order for 100 boxes of tiles arrives in two consignments. The first contains 60 boxes and four are held for review. Report 56 available to the site, four held and 40 still expected. If work needs 60 accepted boxes on Monday, someone can decide whether to resequence, arrange a replacement or use approved stock from another area.
Procurement record: demand date · usable date · ordered · received · held · accepted · balance · owner.
Ready to move on when: Site logistics are agreed and each critical material has an approved specification, required date and person tracking delivery.
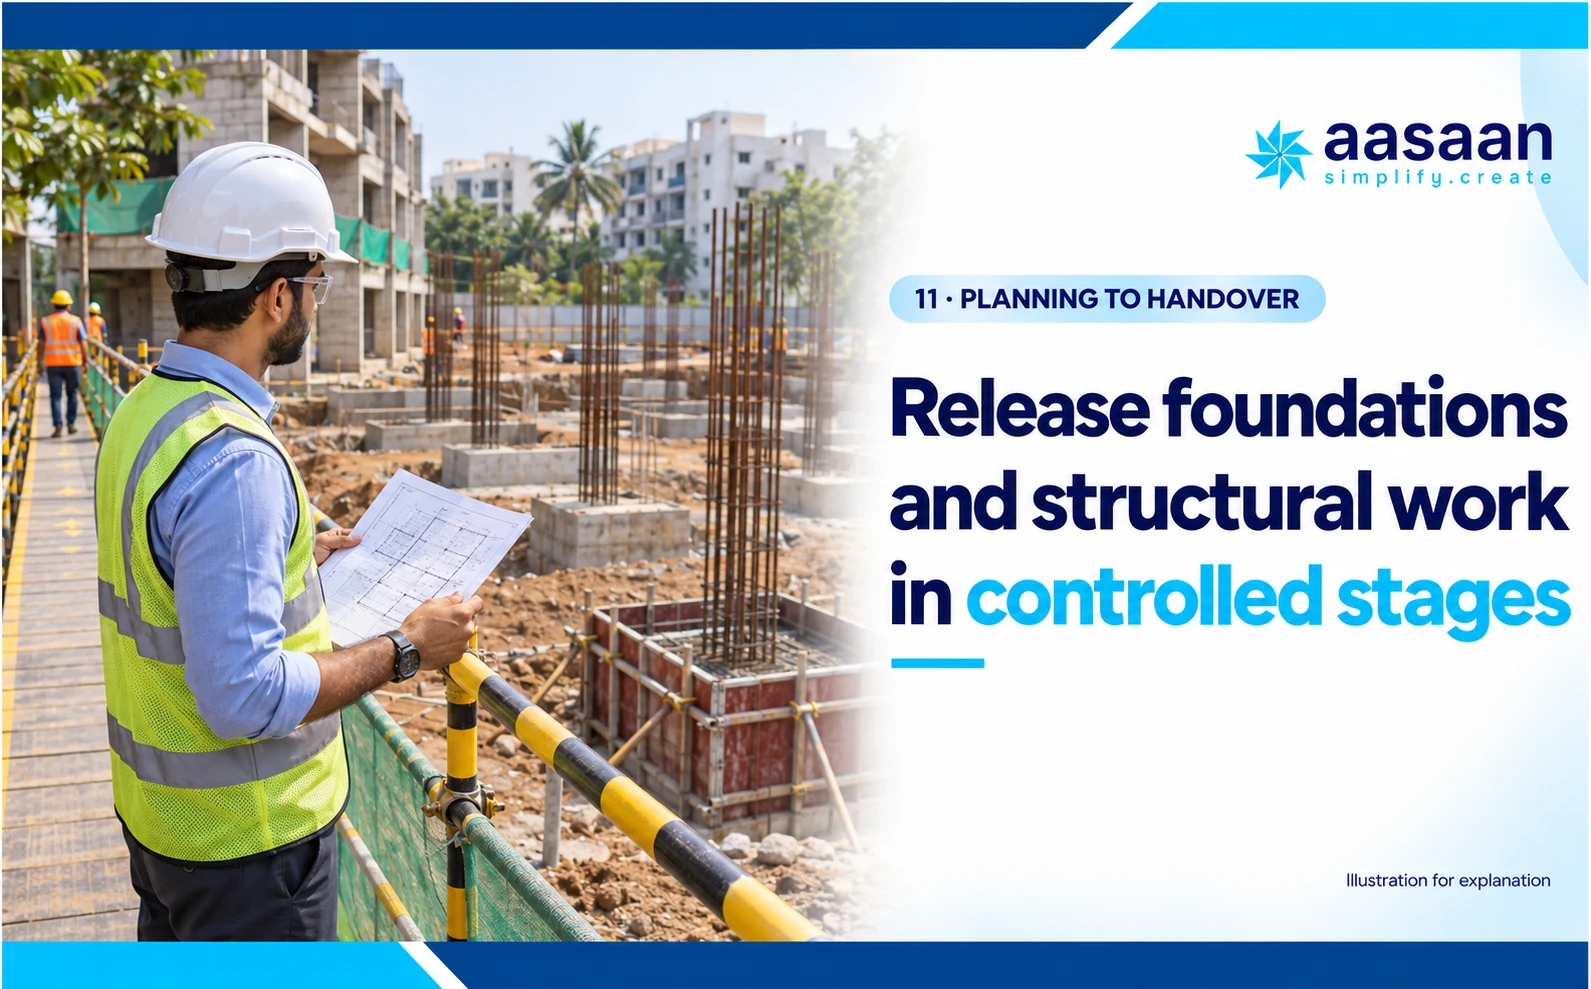
STEP 09 / 14Release foundations and structural work in controlled stages
The exact sequence depends on the project’s design and site conditions. At this point the management job is to confirm that the qualified team has released the work area, approved the current documents and agreed what must be inspected before work is covered or the next activity starts. The BIS guide to NBC 2016 identifies construction management, practices and safety as areas to plan together.
Create a release record for each area or element. It might capture the drawing revision, required inspection, decision and sign-off. On a typical floor in the example project, the structural release can also depend on decisions about sleeves and openings. If a required check is outstanding, record the hold and its impact on the next activity. Use the project’s approved inspection plan and professional instructions to decide whether work can proceed.
Keep an inspection trail for work that will be concealed
Use the project’s approved inspection and test plan to decide which checks apply, who must attend and what records must be retained. The release process should be visible in the short-term programme. If a required witness or sign-off is missing, refer the matter to the responsible team and show the hold in the schedule. This guide is about coordinating the checks; the project professionals determine the technical criteria.
A sample record identifies the floor, zone, element, approved drawing revision, planned check, actual date, result and release status. A photo is helpful context, but the team should retain the applicable inspection record. If a check does not pass, record the issue, correction owner and reinspection outcome against the same element.
Release evidence: inspection reference, unresolved items, corrective action and the authorised release for the next activity.
Ready to move on when: The records show what was inspected, who released the work and which drawing the team used.
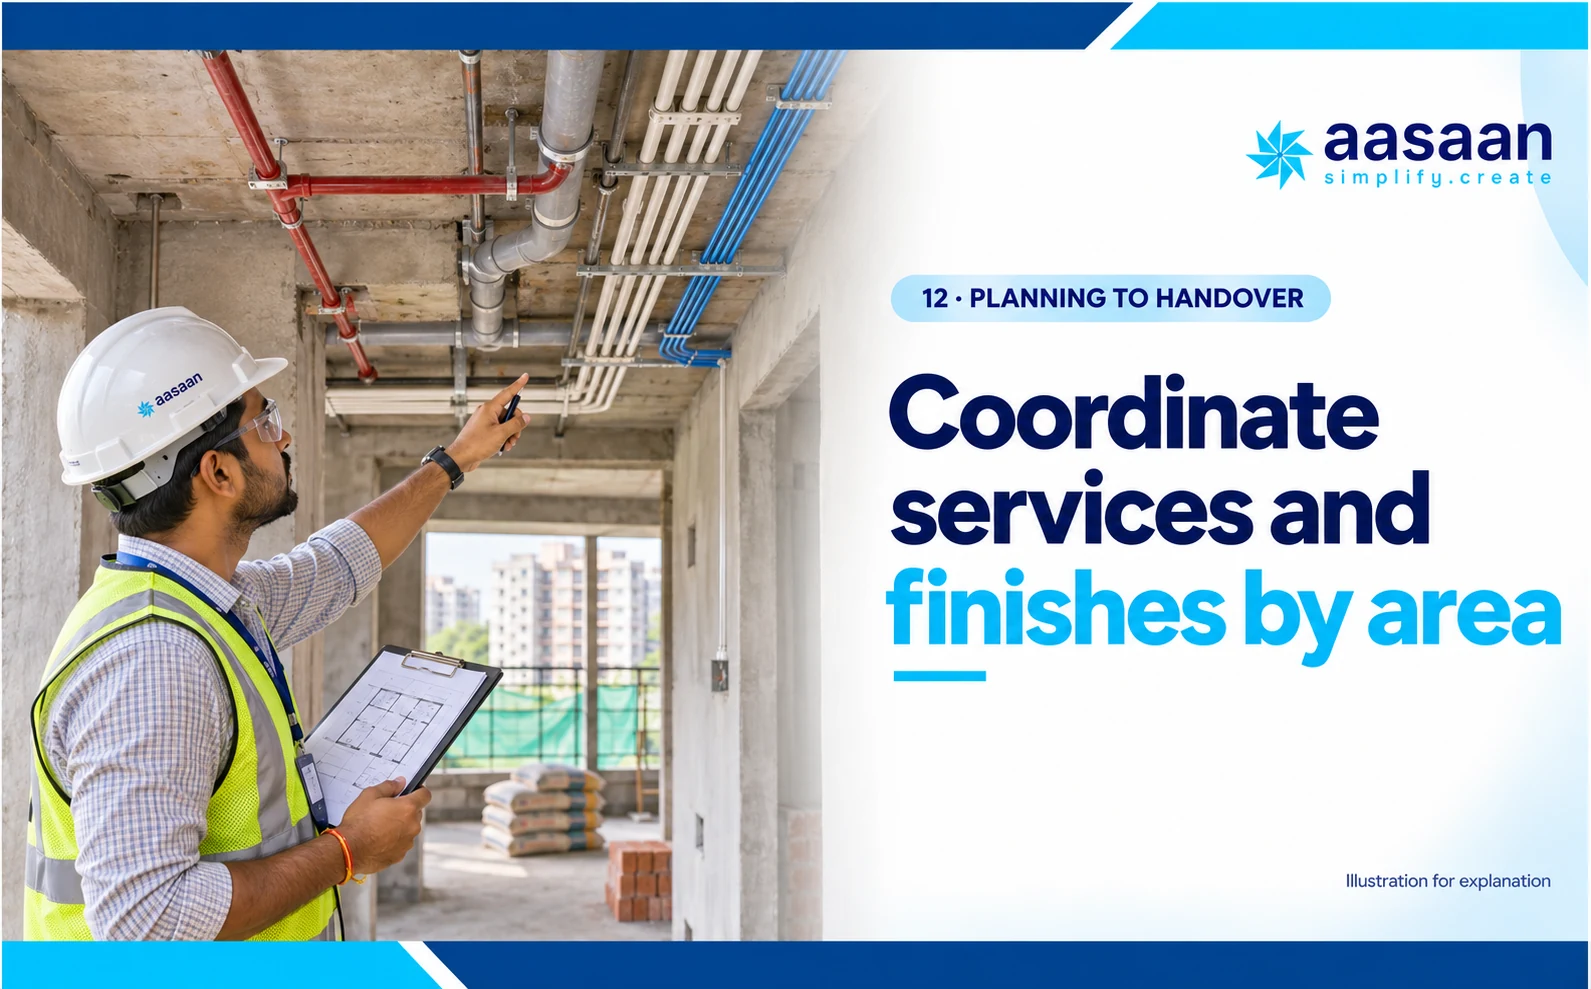
STEP 10 / 14Coordinate services and finishes by area
Services and finishes often overlap. Plan them by floor, flat or zone so that each trade knows when an area is ready. Define prerequisites for each release. For example, before closing a ceiling, the responsible team may need to verify the above-ceiling services, record applicable tests and confirm access for maintenance. Agree those checks in the inspection plan rather than improvising them at the end.
Use a sample flat or mock-up where it helps settle finish expectations. The sample can reveal a mismatch between a specification and what the owner expected before the same finish is repeated across the building. Record approval, share the decision with procurement and site teams, and link it to the affected work package. Keep a short register of areas available for the next trade and areas still held by a dependency.
Plan a clean handoff between trades
Define when an area is available and in what condition. For finishes, that might include earlier work accepted, the approved sample available, the right material on site and protection arranged for completed work. Record who accepts the area from the previous trade and who is responsible for damage after it is released. Keep the area references consistent between the schedule, inspection sheet and snag register.
In the example block, a flooring crew is ready on Level 3, but only some flats have the prerequisite checks closed. Release the ready flats separately if the project team permits it. Mark the others as held with a reason and a review date. This gives the supervisor a workable plan without turning an entire floor green on the dashboard.
Area handoff: zone · releasing trade · receiving trade · prerequisite records · protection responsibility · release date.
Ready to move on when: Each area is released to the next trade with required checks and finish approvals recorded.

STEP 11 / 14Run a weekly review that leads to decisions
Ask each site lead for three things: what was accepted last week, what must finish next week and which decision could stop it. Review measured progress, upcoming purchases, labour availability, cost commitments, open changes and quality or safety actions. Put the decision, owner and due date in the same record. At the next meeting, start with the actions still open.
Suppose the team planned to complete eight flats for finish inspection, but only five were accepted. The useful question is why the other three did not pass: a missing fixture needs a purchase action, while a failed test needs investigation and reinspection. Both can show up as “three flats behind,” but the response is different. Connect the labour attendance workflow to the lookahead when crew availability is an actual constraint.
Bring one useful page to the weekly review
Organise the report around decisions. Start with the next milestone and the change since the last meeting. Put the exceptions under it: delayed release, purchase at risk, forecast change, inspection failure and decisions waiting for the owner. Include the evidence behind the exceptions. Limit the action list to items the people in the room can resolve or assign.
In the example, five flats passed against eight planned. Show that as five accepted, then list the three remaining flats with reasons. One fixture is late, one test needs repeating and one finish needs correction. Give the procurement lead, services engineer and finishing contractor different actions. At the next review, report how many of the three were accepted and what still blocks the rest.
Meeting output: decision or action · named owner · due date · evidence needed to close · next review.
Ready to move on when: Every variance that matters has an agreed response, a deadline and someone responsible for it.

STEP 12 / 14Control changes before they become disputed costs
Keep a change register that captures the request, reason, affected drawings, cost, schedule impact and approval status. Separate clarification from new scope. If a change affects work already ordered or installed, include abortive work, replacement lead time and any reinspection in the review. Update the control budget and schedule after the decision is approved.
Imagine the owner changes a common-area tile after the original material has been ordered. Procurement checks cancellation terms and delivery dates; the site team checks the affected sequence; the quantity surveyor values the change. The owner can then decide with the full consequences visible. Use the contract’s instruction process when the team needs to act urgently, and record what was authorised so the eventual bill can be reconciled against it.
Keep approved changes and pending exposure separate
Give every potential change a reference before it enters the cost forecast. The register should show whether it is a request, priced proposal, authorised instruction or reconciled item. This lets management review what it has committed to and what it might still be asked to approve. When work proceeds under a formal instruction, retain the record and update affected schedules or drawings.
For the lobby tile change, suppose the replacement costs ₹1.4 lakh more and the original order carries a ₹30,000 cancellation charge. The immediate commercial exposure is ₹1.7 lakh before any other validated impacts. Record which earlier allowances or credits apply and whether the revised delivery date changes the finish plan. The owner can then compare the proposal against keeping the original tile.
Change record: reference · scope · cost breakdown · schedule effect · approval · updated budget and drawing references.
Ready to move on when: The owner and contractor can trace a change from request through authorisation to the revised cost and plan.

STEP 13 / 14Commission systems and close the snag list
Plan commissioning before the last month. List the systems to be tested, who must witness the tests, the documents each system needs and any dependencies on permanent services. Collect test records as work proceeds. A finished-looking lobby says little about whether the systems serving it have been tested and accepted.
Walk the project by area. For each snag, record the exact location, description, photo where useful, responsible contractor and target date. Keep “reported fixed” separate from “verified closed.” On the example block, a door adjustment can be reinspected directly; an issue with a building service may need retesting by the responsible specialist. Keep outstanding items visible and distinguish those that prevent release from items that can be handled under an agreed closeout plan.
Build commissioning around system dependencies
Create a matrix with one row per system or test package. Give each row a prerequisite, responsible specialist, witness, planned test date, result and retest action. For dependencies outside the contractor’s control, give the owner a date by which the dependency needs to be resolved. Agree the acceptance criteria with the project professionals and applicable authorities.
A team may complete installation in several zones while final acceptance for a service depends on a wider test. Record the difference. For the example block, track equipment installation, test readiness and accepted results separately. The handover lead should be able to see which records are missing without opening each contractor’s folder.
Commissioning evidence: approved test plan, test and retest records, outstanding dependencies, handover documents and sign-offs.
Ready to move on when: The required tests are documented, and defects affecting release have been resolved and verified.

STEP 14 / 14Hand over the building and close the accounts
Build the handover file while work is still underway. Gather as-built drawings, test records, operation and maintenance manuals, warranties, asset lists, access keys and training records. Confirm the required statutory documents for the particular project with the responsible advisers and authorities. Agree who accepts the physical building, who takes custody of the records and who will answer defects queries after occupation.
Close the commercial file separately. Reconcile measured quantities, approved variations, previous payments and any outstanding claims under the contract. Record responsibility for retention and the post-handover defects process where applicable. Ask the facilities team to demonstrate that it can locate a shut-off point, a warranty and the maintenance contact for a major asset. That tells you more about whether the handover file works than counting how many PDFs it contains.
Test the handover file with the people who will use it
Use a simple index: system, area, required file, responsible party, version, acceptance status and location. Ask the receiving team to open a sample drawing, find the matching asset and locate its warranty or service contact. Check that the current building configuration is reflected in the documents. Record any accepted open item separately with responsibility and a date.
In the example project, the facilities lead walks the common areas with the contractor and uses the handover index to locate service records. Meanwhile, the commercial team reviews final quantities and unresolved claims. Those two workstreams can progress together, but their acceptance records should remain distinct. Agree who handles post-handover issues, how the receiving team reports them and what evidence closes each item.
Handover evidence: accepted document index, access and training records, agreed open-item list and a separate commercial closeout status.
Ready to move on when: The receiving team has the records and access it needs, and outstanding commercial or defects items have named owners.

Follow one decision from drawing issue to handover
In our illustrative residential block, a services drawing shows a penetration in a different location from the structural drawing. The affected zone is due for release on Friday. If the team treats the query as a simple email exchange, procurement, billing and handover may all end up using different versions of the same decision.
Open each record below to see what the next team needs. The sample references are fictional and show how to keep the decision traceable.
RFI-017 · Identify the conflict
The site engineer attaches both drawing references and marks the exact zone. The planner tags the affected release and identifies other approved work that can continue. The design coordinator owns the response date.
DR-042 · Issue the authorised resolution
The relevant designers coordinate the answer. Document control logs the approved revision and distributes it to the affected trades. The supervisor confirms that the earlier issue has been removed from the workfront.
CH-006 · Review cost and schedule impact
If the resolution changes contracted scope, the commercial team records the estimate, any order changes and the programme effect. It obtains the authorisation required by the contract before recording the change as approved.
IR-029 · Verify the work before releasing the zone
The inspection record references the current drawing and the exact location. The responsible team records the check and release status. The lookahead updates only after the release decision is known.
HO-004 · Carry the change into handover
The handover lead checks the final record drawing against the accepted installation. The commercial lead reconciles any authorised change separately. Both records refer back to the same issue so neither team has to reconstruct it.
Weekly review question: If someone new joined today, could they find the current drawing, the authority to proceed and the cost impact without calling the person who raised the issue?

Copy these three records into your next site review
Workfront release: Area | Next activity | Drawing revision | Prerequisites | Evidence | Release owner | Status. Example: Level 3 east wing | Services inspection | MEP-32 Rev C | Latest release confirmed, prior checks complete | IR-029 | Site lead | Waiting for inspection.
Decision log: Question | Affected milestone | Options | Decision owner | Needed by | Outcome. Example: Can Level 3 east wing be released Friday? | Floor finish start | Inspect on Friday or resequence to released flats | Project manager | Thursday review | Open.
Handover index: System | Area | Required record | Revision | Responsible party | Accepted by | Open action. Example: Plumbing | Level 3 | As-built drawing and applicable test record | Rev C | Services contractor | Facilities lead | Verify latest issue.

Try the project review tools
01 · Forecast the final cost of a work package
Enter each amount in ₹ lakh on the same tax basis. Exclude amounts already included in another field. Use this to prepare a budget discussion; the result depends on the assumptions you enter.
If the controls do not respond, the interactive script has not loaded. You can still follow the worked examples below.
Worked example: ₹24 lakh incurred + ₹11 lakh still committed + ₹8 lakh of uncommitted work = ₹43 lakh forecast, or ₹3 lakh above the ₹40 lakh budget. An additional ₹2 lakh of potential exposure would take the scenario forecast to ₹45 lakh.
02 · Find the next workfront blocker
Select a stage to see what you should bring to the next review and who should answer the outstanding question.
Bring the drawing register, current issue and open RFI. Ask the design coordinator which decision blocks release and when the site needs it.
View the review prompts
- Design: Can the coordinator show the latest released drawing and identify the decision blocking the next area?
- Procurement: Can the buyer confirm accepted quantities and a usable delivery date?
- Site execution: Can the supervisor identify the next measurable output and who can authorise release?
- Handover: Can the handover lead name the unresolved test, missing record or defect that still prevents acceptance?

Project readiness checklist
Use this in a project review. Tick an item when the team can show the evidence behind it. The boxes are for the current visit and don’t save your selections.

Frequently asked questions
What are the main stages of a construction project?
Most building projects move through feasibility, design and approvals, tendering and mobilisation, construction, commissioning and handover. Budget, schedule, quality and safety controls run across these stages. Work can overlap where the team has released the relevant package and resolved its dependencies.
What should be ready before construction starts?
Confirm the scope, applicable permissions for the work, released drawings, site logistics, contractor responsibilities and the first work plan. Review open constraints before mobilisation. The information required for later work packages can be scheduled separately where the project’s approvals and contract allow.
How do you track progress on a construction project?
Set a baseline and report against measurable work, such as accepted quantities or completed areas. Compare planned and actual progress at the same reporting date. When a variance matters, record the cause, the work it affects, who owns the response and when the team will check it again.
How do you prevent budget overruns during construction?
Link costs to work packages and review commitments and forecast remaining costs alongside spending to date. Control scope changes before they are instructed. A package can look under budget until an unplaced order or pending variation is included, so review the expected final cost regularly.
Is project completion the same as building handover?
Physical completion, contractual acceptance and regulatory permission to occupy can have different requirements and dates. Build a handover schedule that includes testing, defect closure, required certificates, document transfer and acceptance by the receiving team. Check the specific requirements with the project’s advisers and relevant authority.
What documents should be included in a construction handover?
A typical handover file includes as-built drawings, test and commissioning records, operating manuals, warranties, asset and key registers, applicable certificates, and an agreed list of open items. Confirm the exact deliverables against the contract and project requirements, and organise the files so the receiving team can find them without asking the contractor.